Can You Build a KeepYourHomeIP Alternative Yourself?
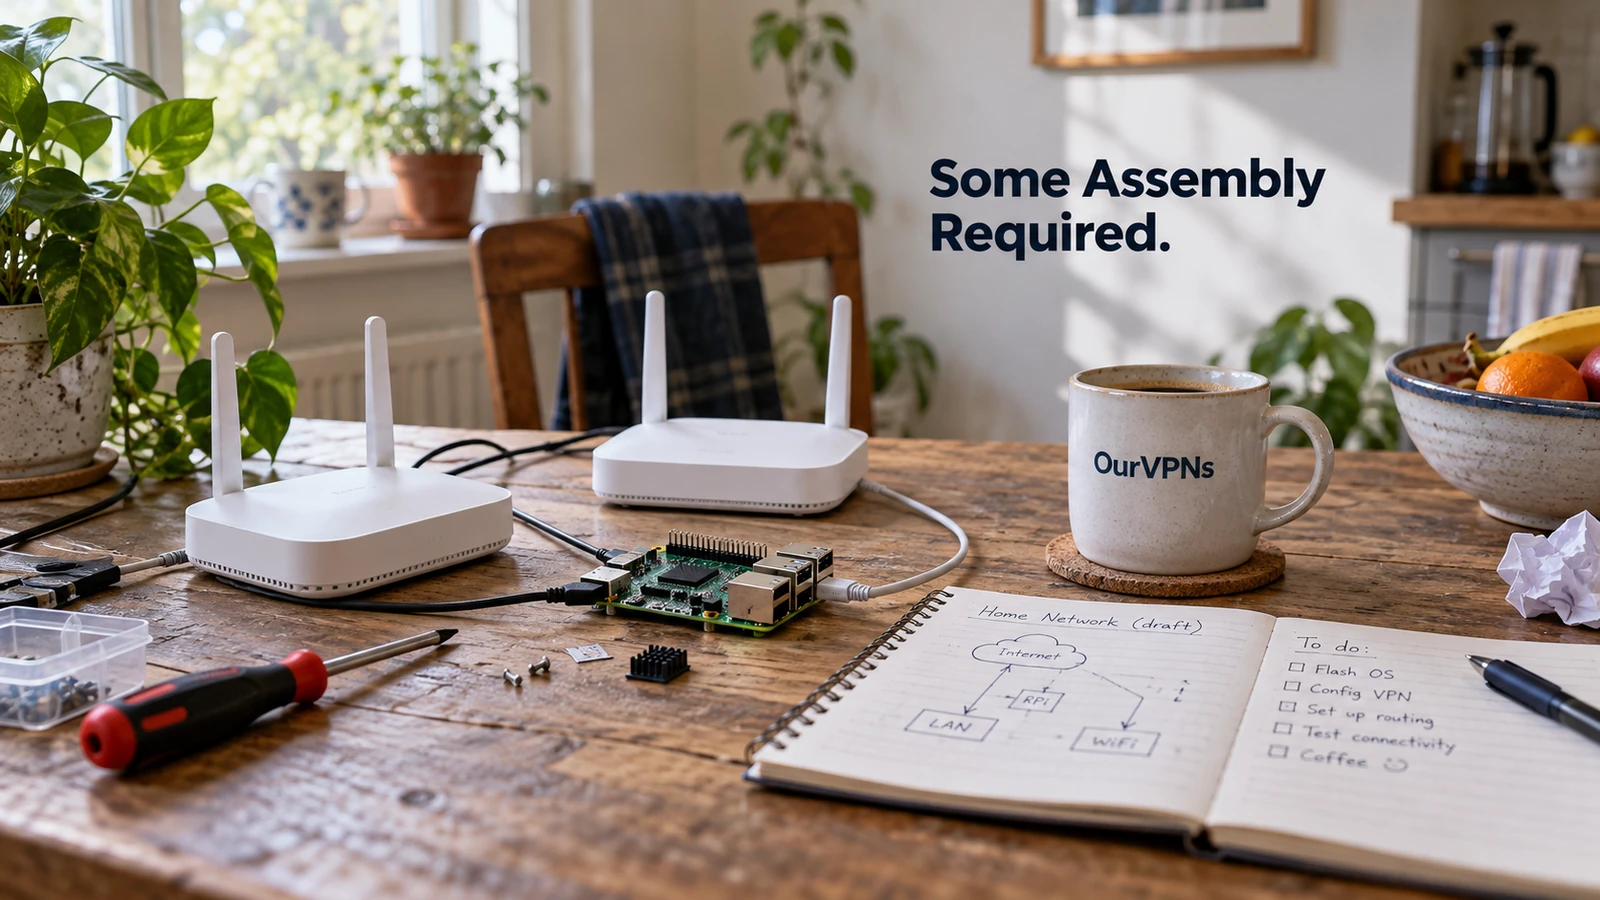
Every home IP kit on the market is, underneath the packaging, two routers and some software talking to each other. There is no secret ingredient. So yes, you can absolutely build your own version for less money than a boxed kit costs. The catch is that "less money" and "less effort" are not the same sentence, and the kits are selling you the second one as much as the first.
Here is exactly what building it yourself involves, what it costs in real numbers, and an honest accounting of what you are trading away.
Can you build a KeepYourHomeIP alternative yourself? The short answer
Yes. Buy or reuse two capable routers (or a router and a small computer), pick WireGuard or Tailscale as the connection method, set one up as the home server and one as the travel client, and point the travel unit at your home using a free dynamic DNS name if your home IP is not fixed. The hardware alone can cost less than half of a paid kit. What you do not get is a support line, a warranty, or someone else's time spent debugging your specific setup.
What you actually need
PartWhyRough costA router or small computer to stay homeRuns the VPN server$60 to $100 for a capable travel style router, or $35 to $85 for a Raspberry PiA travel routerRuns the VPN client, creates Wi-Fi for your devices$60 to $100A dynamic DNS nameGives your travel router a stable address to call if your home IP changesFree, with services like DuckDNS or No-IPA VPS, only if you are behind CGNATActs as a relay your home device can reach even without a public IPFree tier available from some providers, or a few dollars a month elsewhereYour timeSetup, testing, and the occasional troubleshooting sessionNot zero, be honest with yourself
A pair of GL.iNet travel routers, like a Beryl AX, run around $99 each and come with WireGuard pre-installed on both client and server modes, according to GL.iNet's own product page. That puts a two router build around $200, before you have paid a cent in monthly fees.
The steps
1. Pick your protocol. WireGuard gives you full control and needs a public IP at home. Tailscale is free for personal use, handles CGNAT far more gracefully, and trades a little raw speed for a lot less setup pain. Our Tailscale exit node vs WireGuard server post walks through the tradeoffs in detail.
2. Set up the home device. Install your chosen software, generate keys if you are using plain WireGuard, and enable IP forwarding so it can pass traffic through. If you are on WireGuard, forward the WireGuard port (UDP, commonly 51820) from your home router to this device.
3. Add a dynamic DNS name. Home IPs can change. A free service like DuckDNS gives your travel router a stable name to call instead of a number that might be different next week.
4. Set up the travel router. Install the client side, point it at your home device's dynamic DNS name (or, on Tailscale, just select the home device as your exit node), and route all traffic through the tunnel.
5. Handle CGNAT, if you have it. If your home internet does not give you a public IP (common with Starlink, 5G home internet and some apartment buildings), plain WireGuard will not connect directly. Tailscale solves this on its own. If you want to stay on plain WireGuard, a cheap VPS acts as a relay point both routers can reach. Oracle Cloud has offered a free tier suitable for this in the past, though free tier terms shift over time, so check current details before you plan around it. Our CGNAT guide covers the options.
6. Test everything before you travel. Check your public IP, run a DNS and WebRTC leak test, and force the connection to drop on purpose to see what happens. Our guide on testing whether a travel router is really using the expected IP is built exactly for this step.
7. Put the home device on a smart plug. If it freezes while you are away, you want to be able to power cycle it remotely instead of asking a neighbor to unplug and replug a mystery box.
What it actually costs, compared to a kit
Using two GL.iNet Beryl AX routers as an example DIY build against two paid kits, in one time cost:
ApproachHardware or kit costOngoing costDIY with two GL.iNet routersAbout $200None, beyond an optional VPS if you need one for CGNATDIY with a spare router plus a Raspberry PiAs low as $35 to $60 if you already own a routerNoneA mid-tier paid kitRoughly $300 to $430Often a monthly fee, commonly around $8 to $10
The DIY route can genuinely save you money, sometimes a lot of it if you already own a spare router. What it does not save you is time.
What you give up
This is the part the "just build it yourself" crowd sometimes glosses over.
No support line. When something breaks in a hotel at midnight, you are the support line. A paid kit's seven day human support, like KeepYourHomeIP advertises on its own site, is worth something real at that moment.
No warranty or return window. Most kits offer a 30 day return if the setup does not work for your internet connection. Build it yourself and you are troubleshooting on your own dime.
More moving parts to maintain. Firmware updates, key rotation, dynamic DNS renewals and the occasional router reboot are now your job.
A learning curve. If you have never configured a VPN server, budget a weekend, not an afternoon, for your first attempt.
No pre-testing for your specific internet. A kit vendor has usually seen your kind of connection before. You are the first person testing your exact combination of ISP, router and travel plans.
Who should actually do this
You already own a spare router or a Raspberry Pi and enjoy this kind of project.
You want the lowest possible cost and do not mind a weekend of setup.
You are comfortable being your own tech support while traveling.
You have decent, non-CGNAT home internet, or you are willing to learn Tailscale.
Who should just buy a kit
You want it working this weekend with someone to call if it breaks.
Your home internet is Starlink, 5G or otherwise behind CGNAT, and you would rather pay for a documented answer than debug it yourself.
You are traveling for months and cannot afford downtime while you troubleshoot alone.
Your time is worth more to you than the price difference.
Our KeepYourHomeIP alternatives roundup and best home IP VPN solutions for remote workers cover the paid options side by side if you land here.
A quick grown up note about work
Some home IP marketing loves to say your employer will never notice where you are. Please check your employer's policy first, along with any security, compliance or tax rules that apply where you work from. A home IP is a connectivity tool, not a permission slip. We would rather you read this now than in an HR meeting.
Where OurVPNs fits
If none of the above sounds fun, there is a third option that skips your house entirely. OurVPNs gives you a dedicated, non-rotating residential U.S. IP on a real residential ISP connection, with locations across the country and more on the way, and you connect with WireGuard or OpenVPN on Windows, macOS, iOS, Android, Linux or a router. Nothing to build, nothing at home to keep powered on, and it is honest about the trade: it is a steady residential IP in a location you choose, not your exact home address.
Plans are $35 a month (three device connections, one location) or $350 a year (five device connections, two locations). Data is unlimited for normal use, though the service is not built for sustained heavy transfers of hundreds of gigabytes a month. There is a 3-day free trial with no charge during the trial period, and our free trial guide shows exactly when billing starts.
Quick answers
Is it cheaper to build a home IP setup myself? Usually yes on hardware, sometimes dramatically so if you already own a spare router. It is not cheaper in time.
What software should I use? WireGuard for full control if you have a public IP at home, or Tailscale if you want an easier setup or you are behind CGNAT.
Do I need a public IP address at home? Only for a standard WireGuard server. Tailscale and a VPS relay both work around CGNAT.
How long does it take to set up? Budget a weekend for your first build, faster once you have done it before.
What if I get stuck? Community forums and documentation exist, but there is no support line. That is the real price of DIY.
The short version
Building your own home IP setup is absolutely possible, usually cheaper on hardware, and a genuinely fun project if that is your thing. Just go in knowing the real cost is not the router price tag, it is the hours you will spend setting it up and the fact that you become your own help desk. If that trade does not sound appealing, a paid kit or a managed service earns its price.